1
How To Create a Badge System
How To Create a Badge System
Innhold
Designing a badge system means reviewing your programme, course, or organisation’s objectives systematically and designing the entire recognition system based on a number of digital Open Badges. Do not worry. We will go step-by-step.
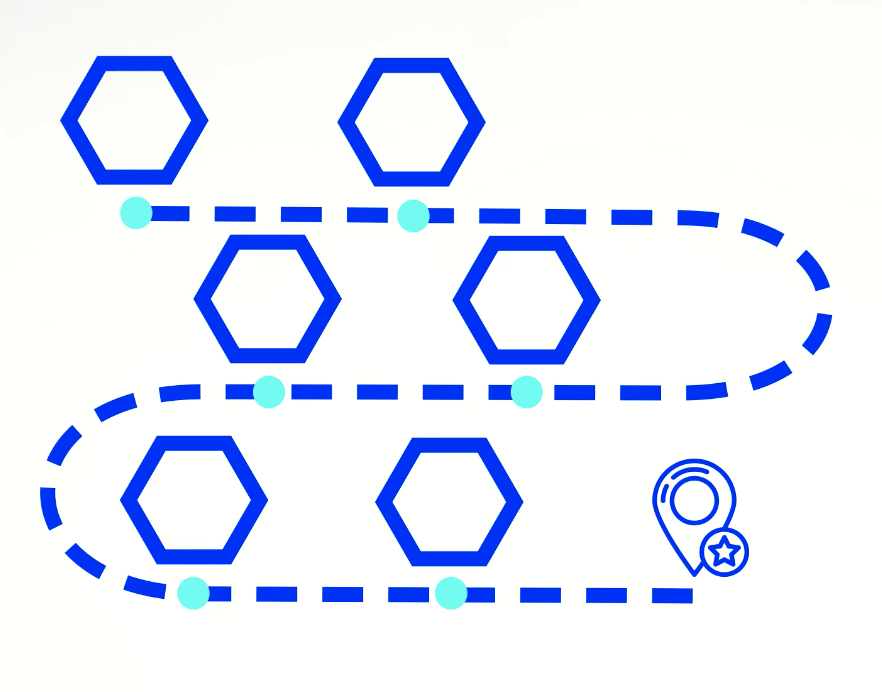
A badge system is a compilation of badges linked to each other according to the defined goals, and intended learning pathway and context in which badges are being used.
Watch the video on essentials in the development of a badge system.
Source: Video created for the project “Digital technology for pathways to entrepreneurial skills”, Youtube channel Cities of Learning
Each badge can serve a different purpose in the process of learning and recognising achievements. You can connect badges in various ways and set up levels or various requirements on how badges can be earned within a larger learning pathway.
Here are some examples of Badge systems presented through several publications:
By designing a system in a certain way, you can achieve multiple goals:
- A badge system can help badge earners navigate learning pathways
- It can motivate learners to keep up and be resilient on the longer pathway
- A badge system can visualise milestones in learning or show how one competence consists of more granular learning bits
The way you design badges and link them, you can show a holistic approach to learning where each badge is earned differently, but all form a complete picture of competencies.
How to get started with badge system creation?
Step 1. Set goals for your badge system.
Step 2. Imagine and describe your learners’ journey
Step 3. Identify main milestones and smaller steps to reach progress badges.
Step 4. Define meaningful dynamics at specific learning moments - onboarding, motivation, signposting, recognition, and fun.

Here are some examples of what a badge system may look like.
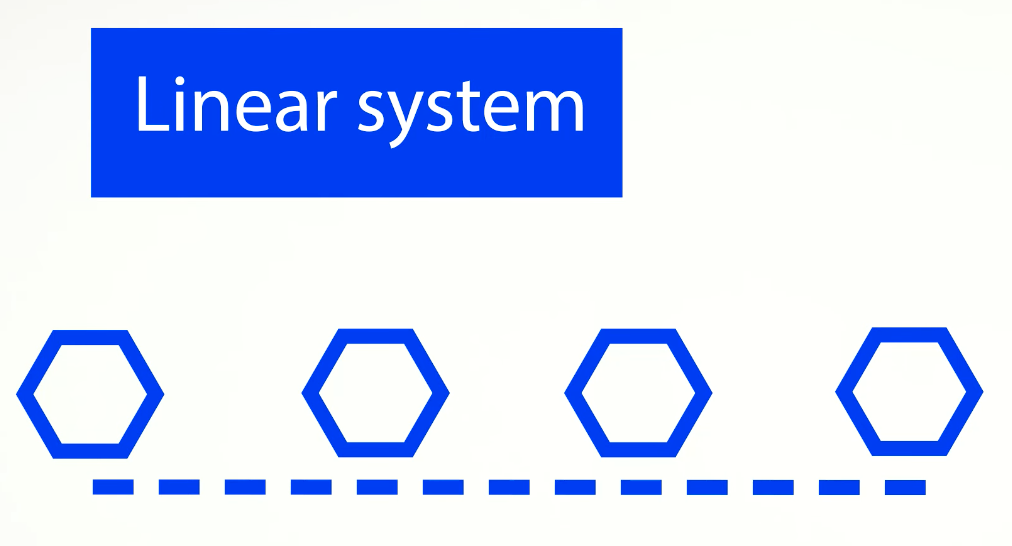
You can have a linear system.
It’s a system where earning one badge unlocks the next badge in a clear linear sequence. You can see it as levels or as stepping stones. This progression can be helpful if a learning journey has a rigid structure and a learner can not start learning certain things without passing some more basic levels.

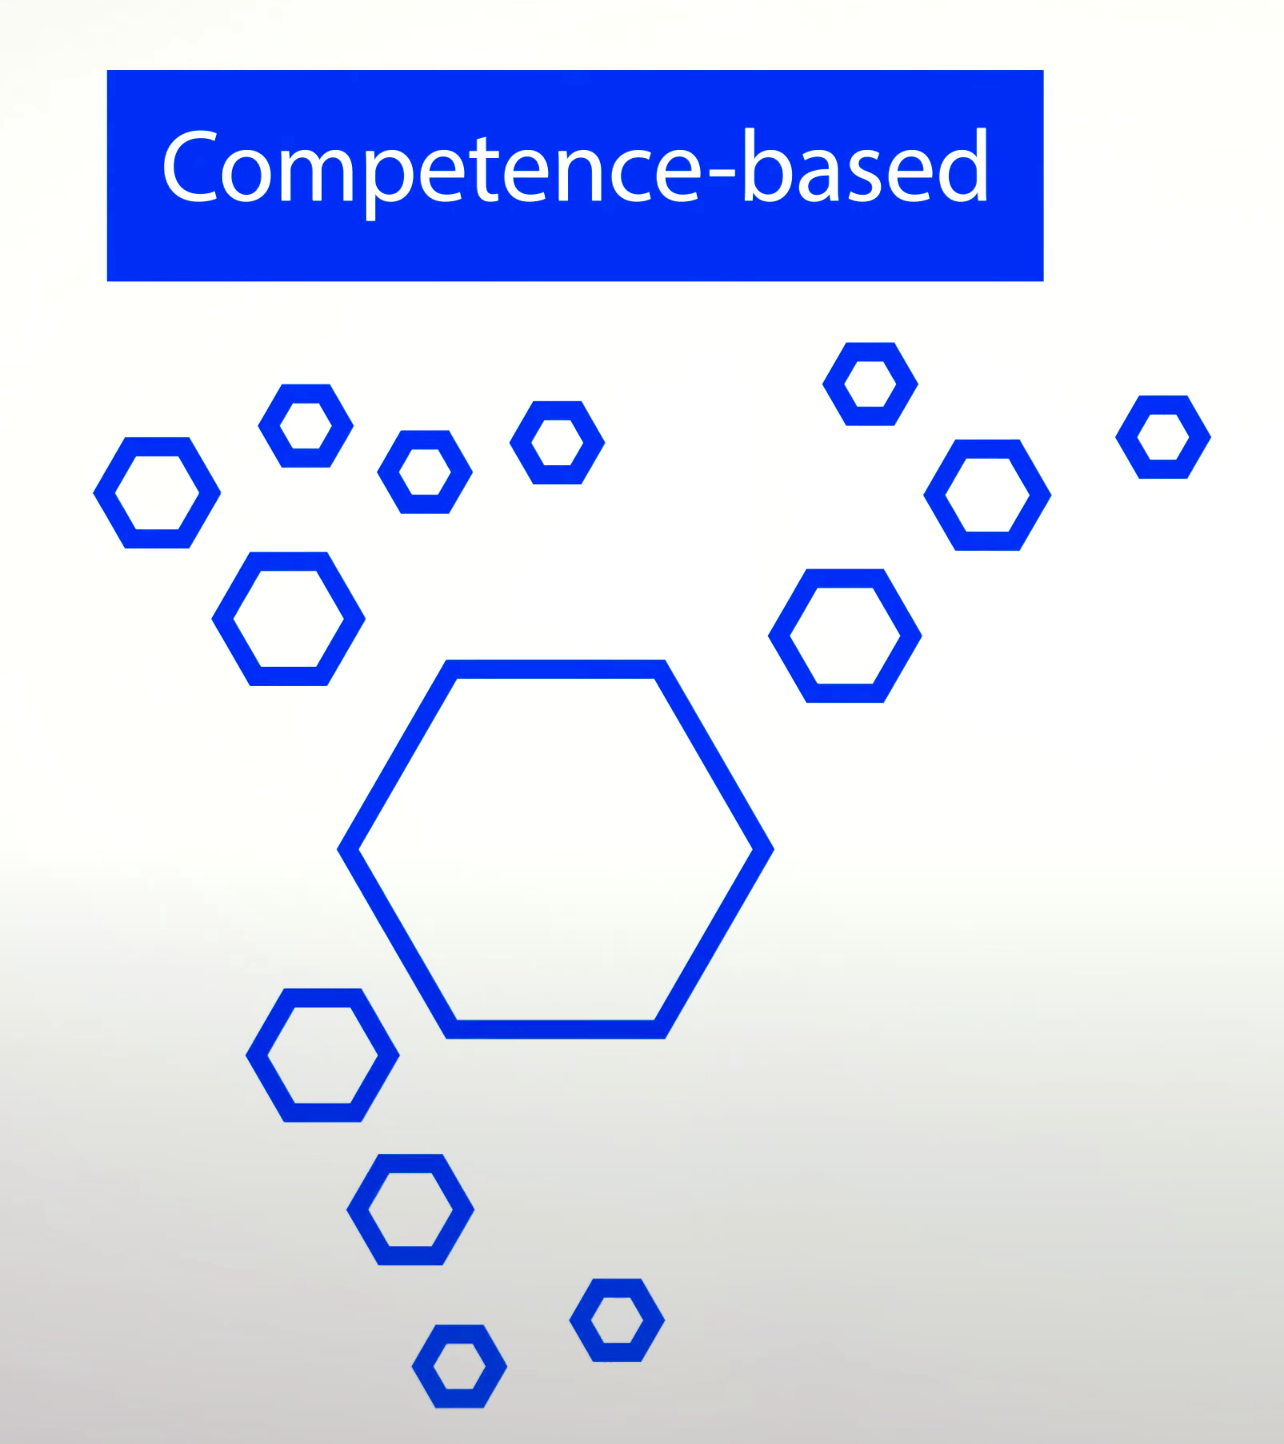
Competence-based / Collection system
You can build a system based on a number of competences or a set of activities, where a learner has free choice of where to start learning and earning badges. Then within one competence or activity, there is a smaller sub-system of badges, which might be connected in a linear or a free-flow way. In such a system, a competence badge is like a milestone badge, which requires ‘lower’ level badges to be earned. You can design whether the learner needs to earn these badges in a specific sequence or in a flexible way.

Blended badge system
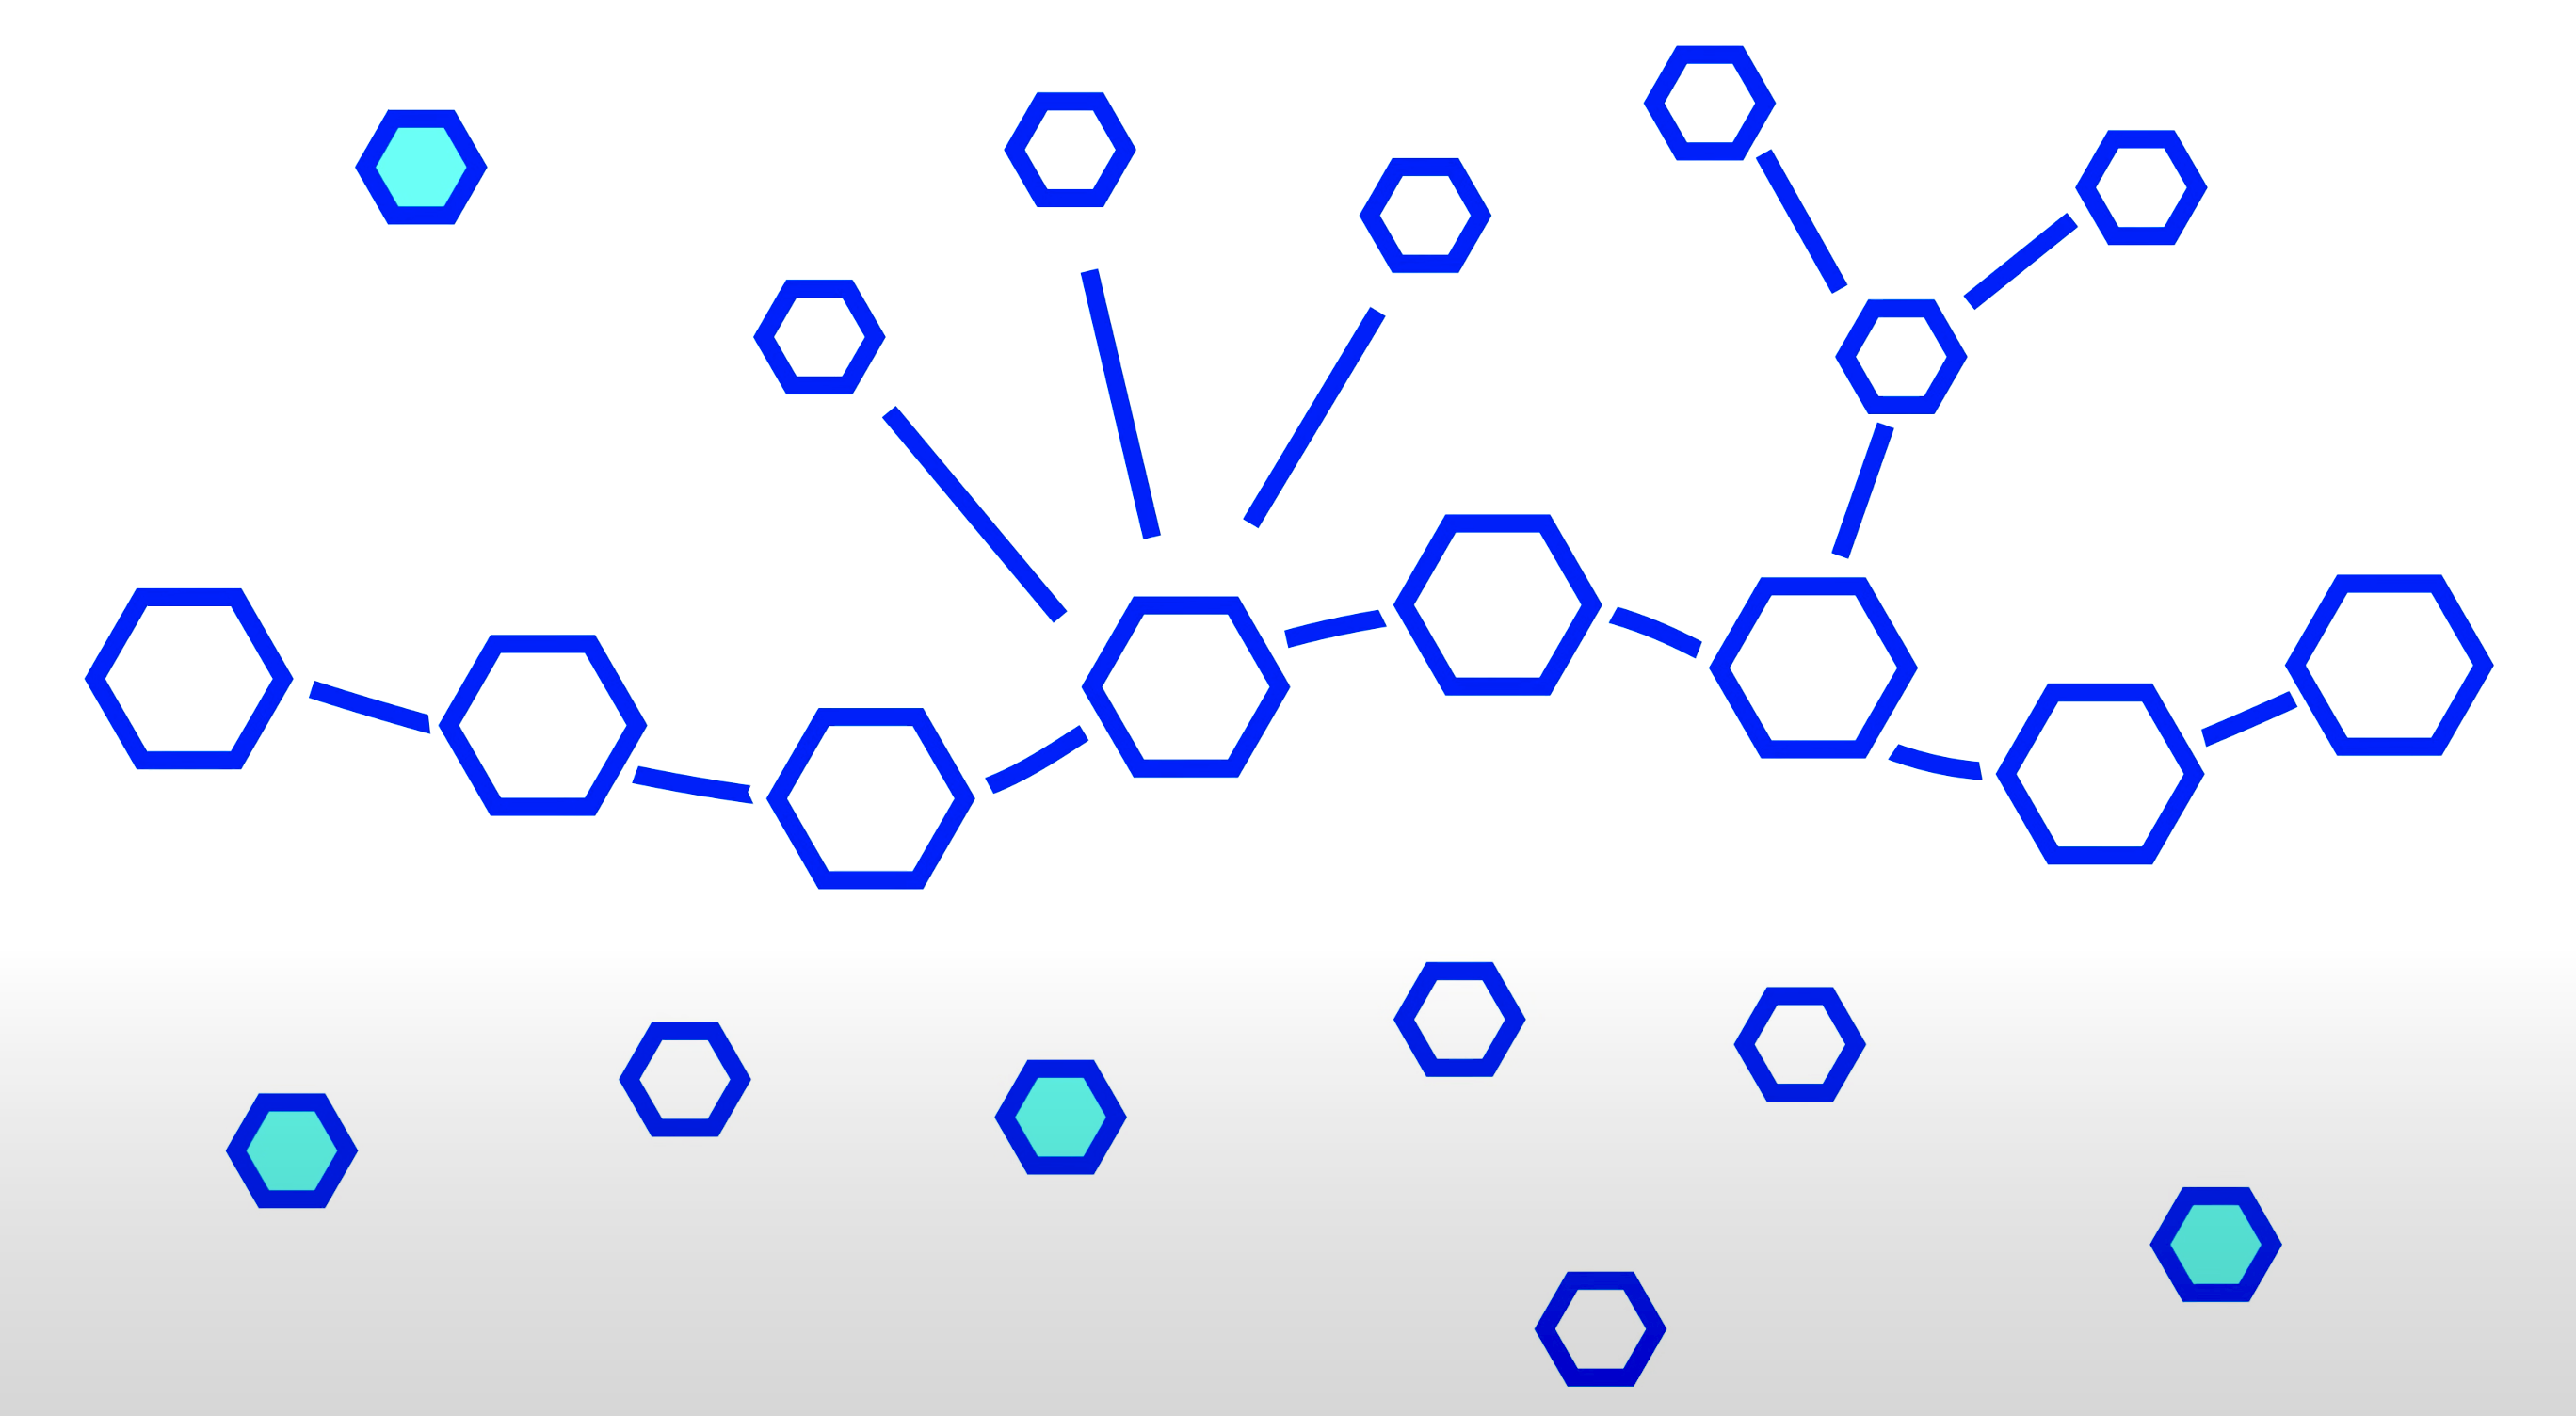
You might end up in combining several of those types into a blended system.
For example, you can have several onboarding badges to help people understand how badges work and what are the entry points to your badge system. Then you can offer several sub-systems with few badges in each. You can offer some optional badges to earn for showing certain qualities or behaviour. There might be several meta-level badges that show mastery or unique achievements within your educational programme.

Design your badge system in a way that is aligned with your educational approach, goals, and educational standards.
Watch the recording of the webinar on Badge System Design and explore some tips on how to create an assessment flow for badges, how to connect one badge to another and what are the different types of badge systems.
Start designing your badge system
We used here the methodology of User Journey, based on the Design-Thinking practices.
We started with a user persona - Connected Tonny, who started visiting our youth centre recently. We focused on things Tony is experiencing, things he likes and prefers in life.
We identified what are the key experiences awaiting for Tonny in our youth centre and potentially leading towards skills and attitudes of Tony who transforms from Connected Tony to the Volunteering Ambassador Tonny.
Then we analysed what are the specific experiences at each step, what will be the activities and who will be involved in these.
And finally, we decided how badges can support Tonny on his learning journey. At some moments he might need motivation and recognition for his efforts, at other moments he might need a badge for getting feedback on his skills or recognise efforts made. We marked different badges with some letters: P - badge for participating, R - badge for recognition, PA1 - badge for taking part in the preparation activity 1, A1 - badge for taking part and learning in the Activity 1, PF - badge for planning the future.
Now it's time to put your ideas into practice. Who is your learner? What is the journey of your learner? Where do you want the learner to be at the end of the journey and how badges can provide meaningful support.
Go the badge quest and check the practical task on badge system creation.

Funded by the European Union. Views and opinions expressed are however those of the author(s) only and do not necessarily reflect those of the European Commission. European Commission can not be held responsible for them.
Materiale
- Badges4Good - 12 practices in using Open Badges
- Trusted Badge Systems - building trust and recognition with Open Badges
- Unique Learning Badges - examples of 6 Open Badge systems
- Badge system description template MS Word version
- Modello per la descrizione di un sistema di badge in italiano (Word)
- Ženkliukų sistemos kūrimo šablonas lietuviškai(MS Word)
Last ned aktivitetsmerke
Badge System Designer Få dette merket
This badge shows my increased understanding on how to create badge systems or badge-based learning pathways.
To earn this badge, I had to provide a simple prototype of a badge system for the learning process.
The evidence was reviewed by one of the trainers.
This badge is issued as a part of the online course leading to the achievement of the Badge Quality Label.
Oppgaver
Oppgavenr.1
Bevis bekreftet av: en aktivitetsarrangør
Now you know what are the main steps to design a system of badges and what might be different types of badges and how these might be connected into the learning pathway.
Choose a project, programme or some kind of learning flow, which you are organising or you are experiencing as a learner. Take a paper and pen or use digital tools to draw a learning pathway from the beginning to the end. Consider and visualise at which place of the pathway the badges might be useful and what kind of badges would fit that specific moment: onboarding, engagement, motivation, recognition, fun, etc.
Make a photo of the pathway, add any additional explanations and upload it here for the evidence.
Alternatively, you can start describing your badges in the form based on this template and upload it here.
The badge will be issued when the evidence is reviewed and accepted by at least one trainer.
Arrangører
Cities of Learning Network
Badge issuer recognized with
Brukt i spillelister
Creating quality Open Badges and badge systems
Cities of Learning NetworkEndre til annet språk:

